The first wash I apply is the flesh wash. My flesh wash is a homemade mix - see picture below for a visual of the mix. it is composed of mostly Daler Rowney Red Oxide acrylic ink, with some Reaper Brown Ink & Reaper Flow Improver (I can't tell you the exact proportions because I don't know them :-), I just stopped when I thought it looked about right.)
 |
| Flesh Wash combo |
Next up, the majority of the uniform gets a wash of Secret Weapon Blue Black - I think this colour is excellent for British Battledress, to my eye it is complimentary. I would not use this coloured wash over German Field Grey uniform for instance, I would probably use a brown instead. Over a red uniform I would use Secret Weapon Green Black.
The next wash to be applied is Secret Weapon Sewer Water (don't worry, it doesn't smell like a sewer). This is put on the helmet and the boots.
My final wash is P3 Armour Wash, this is applied to the weapons - doesn't matter if it goes on the woodwork too, that can get tidied up later.
I like this product from P3 for all metal work, works a treat. Once it's dry you can always go back over with some metallic paint if you want some extra shiny bits :-)
Below are the brushes I use for most of my washes. They are soft brushes with natural fibres, but nothing fancy like sable.
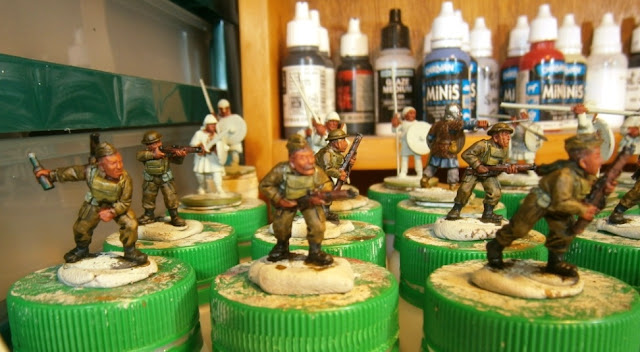
Here's what the figures look like once their washes have dried:
A close up of some of 'em:
They look much darker now, but not too dark. In the next stage I will go back over the figures with original colours plus some new ones, leaving some of the glaze colour where I want it.
In the next post I will show you how I paint the flesh on these figures.
All the best,
John.


They look wonderful! Those washes really work well.
ReplyDeleteThanks Rodger. I'm glad you like the effect of the washes.
DeleteGreat stuff John. That flesh wash has come out pretty dark - good base to build up from.
ReplyDeleteYeah it comes out pretty dark, and it even gets watered down once it's dispensed onto the palette. I used to use an old Citadel flesh ink (discontinued now), but I ran out and so decided to make my own concoction.
Delete